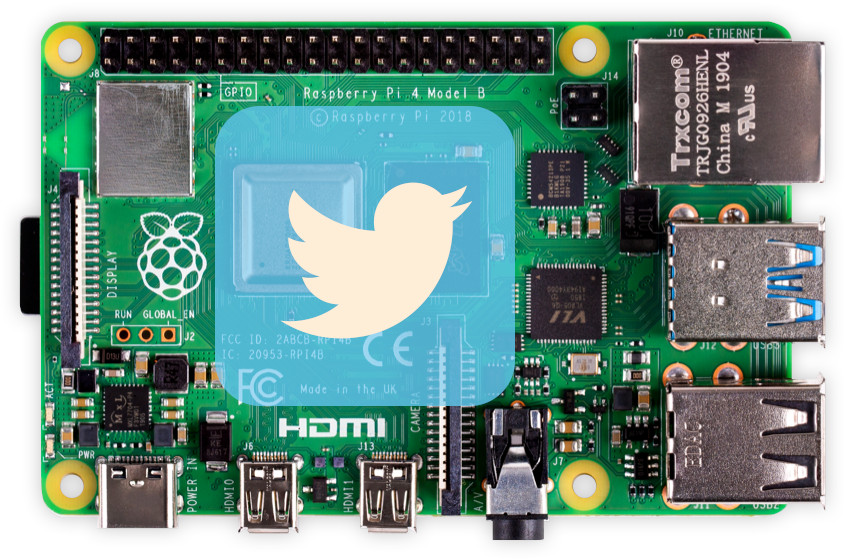
Here is something fun to do this weekend. How about tweeting using voice recognition? We are going to do this using Raspberry Pi, Azure Speech Cognitive Service and nodejs.
First you will need to setup your Raspberry Pi using the steps detailed on my previous article, then create a Speech cognitive service on Azure as detailed on my other article. You will also need to create a developer account and an app on twitter to get security keys and tokens.
In this howto article we are going to use this twitter npm package. Also we will use node-audiorecorder to record voice messages and send it to the Speech API. In order to install these you will need to run the following commands on your terminal.
sudo apt update
sudo apt install sox
npm install node-audiorecorder
npm install twitter
When ready test your access to twitter using the below code which will connect to twitter service and query my twitter account for latest tweet text. You will need to replace the below placeholders with values from your Twitter developer account.
var Twitter = require('twitter');

var client = new Twitter({
  consumer_key: '<consumer key>',
  consumer_secret: '<consumer secret>',
  access_token_key: '<access token>',
  access_token_secret: '<access token>'
});

var params = {screen_name: '@fadyanwar'};
client.get('statuses/user_timeline', params, function(error, tweets, response) {
  if (!error) {
    console.log(tweets[0]["text"]);
  }
});
Now moving to recording and speech part. Let’s make sure that you can record wav files by running this nodejs script. The script will record sound for 5 seconds then stop.
// Import required npm packages
const AudioRecorder = require('node-audiorecorder');
const fs = require('fs');

// Create an instance.
const audioRecorder = new AudioRecorder({
    program: process.platform = 'sox',
  }, console);

// Create write stream.
const fileStream = fs.createWriteStream("tweet.wav", { encoding: 'binary' });
// Start and write to the file.
audioRecorder.start().stream().pipe(fileStream);
setTimeout(recognize, 5000); //wait for 5 seconds then call recognize function

function recognize()
{
    audioRecorder.stop();
    //rest of voice recognition code will go here
}
You should get a file in the same directory called tweet.wav with your recording. You can play it from your shell terminal by typing this command.
play tweet.wavIf you can hear yourself then so far so good. Now let’s do the fun part, create a new file called voicetweet.js on your Raspberry Pi and paste into it the below script and fill in the place holders with the speech subscription service as well as twitter consumer key, token and their secrets.
// Import required npm packages
const AudioRecorder = require('node-audiorecorder');
const fs = require('fs');
var sdk = require("microsoft-cognitiveservices-speech-sdk");
var Twitter = require('twitter');


var subscriptionKey = "<subscription key>";
var serviceRegion = "northeurope";
var filename = "tweet.wav";

var client = new Twitter({
  consumer_key: '<consumer key>',
  consumer_secret: '<consumer secret>',
  access_token_key: '<access token>',
  access_token_secret: '<access token secret>'
});


// Create an instance.
const audioRecorder = new AudioRecorder({
    program: process.platform = 'sox', //using sox to record
  }, console);

// Create a write stream and record to tweet.wav
const fileStream = fs.createWriteStream("tweet.wav", { encoding: 'binary' });
// Start and write to the file.
audioRecorder.start().stream().pipe(fileStream);
setTimeout(recognize, 5000); //wait for 5 seconds then call recognize function

//the function used to recognize voice and turn it into text using Azure Speech
function recognize()
{
    audioRecorder.stop();

    // create the push stream we need for the speech sdk.
    var pushStream = sdk.AudioInputStream.createPushStream();

    // open the file and push it to the push stream.
    fs.createReadStream(filename).on('data', function(arrayBuffer) {
        pushStream.write(arrayBuffer.slice());
    }).on('end', function() {
        pushStream.close();
    });

    console.log("Now recognizing from: " + filename);

    // now create the audio-config pointing to our stream and
    // the speech config specifying the language.
    var audioConfig = sdk.AudioConfig.fromStreamInput(pushStream);
    var speechConfig = sdk.SpeechConfig.fromSubscription(subscriptionKey, serviceRegion);

    // setting the recognition language to English.
    speechConfig.speechRecognitionLanguage = "en-US";

    // create the speech recognizer.
    var recognizer = new sdk.SpeechRecognizer(speechConfig, audioConfig);

    // start the recognizer and wait for a result.
    recognizer.recognizeOnceAsync(
        function (result) {
        console.log(result);
        //get the result text and pass into the tweet function
        tweet(result["privText"])

        recognizer.close();
        recognizer = undefined;
        },
        function (err) {
        console.trace("err - " + err);

        recognizer.close();
        recognizer = undefined;
        });

}

//function used to post new tweets to your time line
function tweet(message){
  message+= " @fadyanwar"; //giving myself a shout ;)
  client.post('statuses/update', {status: message})
  .then(function (tweet) {
      console.log(tweet);
  })
  .catch(function (error) {
      throw error;
  })
}
When all in place, type the below command on your Raspberry Pi terminal.
node voicetweet.jsYou should see confirmation messages with the json values of the results coming back from both Azure and Twitter. This mean that you just had made your first tweet mentioning me using voice AI recognition on a Raspberry Pi. Congratulations!
If you did like this article I would appreciate it if you share and like and don’t forget to follow me on twitter for more fun how to articles like this one.

Leave a Reply