Your Private Google Photos Alternative
Introduction
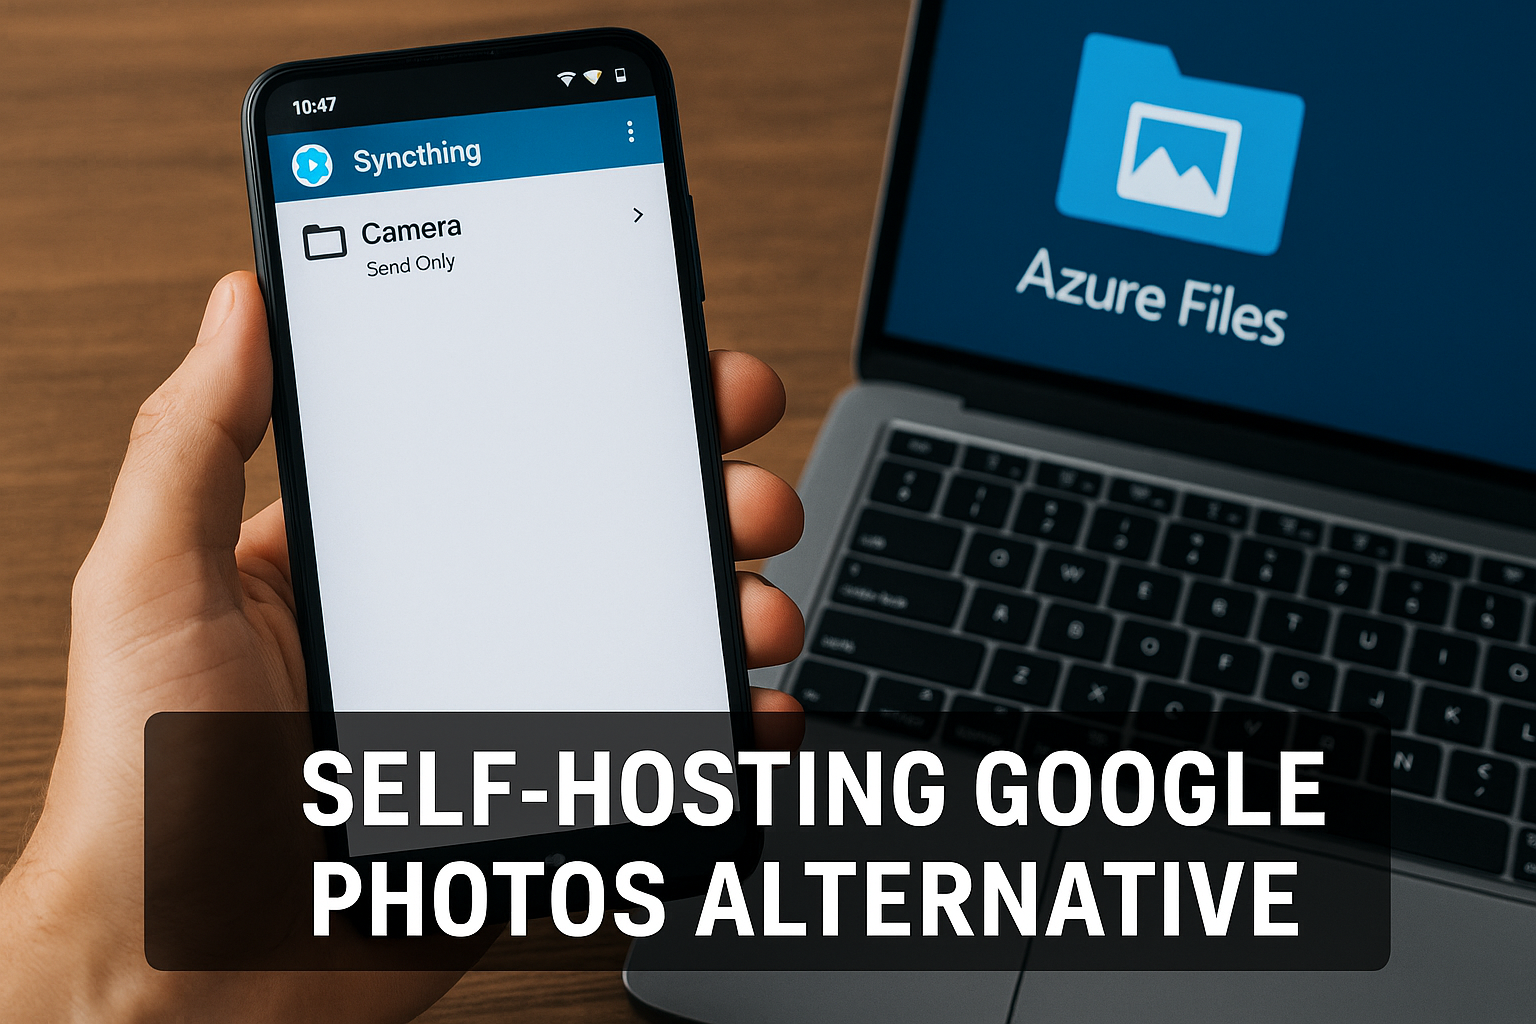
After showing how to mount Azure Files for Rsync backups, I now present a powerful alternative: Syncthing configured with Azure Files. This solution gives you complete control over your personal media while offering real-time sync capabilities – perfect for replacing services like Google Photos while keeping your data private.
Why This Beats Google Photos
- Full ownership of your photos/videos (no corporate scanning)
- No storage limits or compression of original files
- End-to-end encrypted transfers
- Accessible from all your devices via Azure Files
Perfect Use Cases
- Private Photo Backup from Phone
- Sync your camera roll directly to Azure storage
- Access full-resolution photos from any computer
- No more “storage full” warnings on your phone
- Family Photo Sharing
- Each family member gets their own folder
- Share selected albums through Azure Files
- Grandparents can access via simple SMB mounts
- Creative Workflow
- Photographers: Sync RAW files from field to studio
- Videographers: Automatic cloud backup of footage
- Artists: Version control for design projects
Installation Guide
- Phone Setup (Android)
- Install Syncthing from F-Droid/Play Store
- Grant “All Files Access” permission
- Set your Camera folder as “Send Only”
- Server Configuration
Install Syncthing on your Azure VM:
sudo apt update
sudo apt install syncthing
sudo systemctl enable –now syncthing@fady - Azure Files Mount
sudo mount -t cifs //yourstorage.file.core.windows.net/photos /mnt/azurephotos -o credentials=/etc/smbcredentials/yourstorage.cred,vers=3.0,uid=(id−ufady),gid=(id−ufady),gid=(id -g fady),dir_mode=0770,file_mode=0770 - Folder Setup
In Syncthing Web UI (http://localhost:8384): - Add “/mnt/azurephotos” as “Receive Only”
- Add your phone’s DCIM folder
- Enable “Staggered File Versioning”
Accessing Your Photos
- From Windows/Mac: Map Azure Files as network drive
- From Linux: Use the same mount command
- From Phone: Use Azure Files app or Syncthing’s web UI
Advanced Features
- Face Recognition: Use PhotoPrism in Azure Container
- Sharing: Generate SAS tokens for specific folders
- Search: Enable Azure Cognitive Search
Privacy Advantages
- Microsoft can’t scan your photos (unlike Google)
- Encryption keys remain yours
- No hidden AI training on your memories
Maintenance Tips
- Set up Azure Monitor alerts
- Enable Storage Analytics
- Review access logs monthly
- Keep Syncthing updated
Troubleshooting
- Slow sync? Adjust “LAN Rate” in Syncthing settings
- Permission issues? Verify mount UID/GID
- Connection problems? Check Azure NSG rules
Final Thoughts
While Rsync remains superior for scheduled, bandwidth-controlled backups, Syncthing offers a compelling alternative for real-time synchronization scenarios. By combining it with Azure Files, you create a powerful, cloud-backed synchronization solution that complements traditional backup methods.
This setup gives you:
- Complete control over your media
- Enterprise-grade reliability
- True privacy for personal memories
Remember that this isn’t an either/or choice – many users successfully employ both Rsync and Syncthing for different aspects of their backup and synchronization strategy.
Next Steps
- Start with 100GB test collection
- Migrate existing photos gradually
- Set up Azure Backup for redundancy
Leave a Reply