In my previous guide, I covered how to mount Azure Files on Linux and set up automated backups using rsync. While having your media files safely stored in the cloud is essential, you also need a way to access and enjoy that content. This is where Jellyfin comes in – a fantastic open-source media server that lets you stream your movie collection from anywhere.
Why Jellyfin?
Jellyfin is a self-hosted alternative to services like Netflix or Disney Plus, with no paywalls or premium features. It organizes your media library, fetches metadata, and allows streaming to various devices. Since we’ve already set up Azure Files as a backup destination for our media, we can now configure Jellyfin to make those files accessible in a user-friendly way.
Prerequisites
Before setting up Jellyfin, ensure you have:
- Docker installed – Jellyfin runs best in a containerized environment.
- Azure Files mounted – As covered in my previous guide, your media should be synced to /media/backup/Movies (or your preferred directory).
- Docker Compose plugin installed (see manual installation instructions below if not available via package manager).
First, set up Docker’s repository for your distribution. For Ubuntu/Debian:
sudo apt-get update
sudo apt-get install docker-compose-plugin
For RPM-based distributions (CentOS/RHEL/Fedora):
sudo yum update
sudo yum install docker-compose-plugin
Verify the installation:
docker compose versionInstalling Docker Compose Plugin Manually
Some Azure Linux VM images don’t include Docker Compose in their default repositories. Here’s how to install it manually:
If the repository method doesn’t work, install the plugin manually:
DOCKER_CONFIG=${DOCKER_CONFIG:-$HOME/.docker}
mkdir -p $DOCKER_CONFIG/cli-plugins
curl -SL https://github.com/docker/compose/releases/download/v2.36.2/docker-compose-linux-x86_64 -o $DOCKER_CONFIG/cli-plugins/docker-compose
chmod +x $DOCKER_CONFIG/cli-plugins/docker-compose
For system-wide installation (all users):
sudo mkdir -p /usr/local/lib/docker/cli-plugins
sudo curl -SL https://github.com/docker/compose/releases/download/v2.36.2/docker-compose-linux-x86_64 -o /usr/local/lib/docker/cli-plugins/docker-compose
sudo chmod +x /usr/local/lib/docker/cli-plugins/docker-compose
Verify the installation:
docker compose versionStep 1: Prepare Your Media Directory
Following my Azure Files guide, your media should already be synced to a local directory (e.g., /media/backup/Movies). Verify that the files are accessible:
ls /media/backup/MoviesIf your media is stored elsewhere, adjust the paths accordingly.
Step 2: Set Up Jellyfin with Docker Compose
We’ll use Docker Compose to manage the Jellyfin container. Create a docker-compose.yml file with the following configuration:
services:
  jellyfin:
    image: jellyfin/jellyfin
    container_name: jellyfin
    user: 1000:1000
    network_mode: 'host'
    volumes:
      - ./config:/config
      - ./cache:/cache
      - type: bind
        source: /media/backup/Movies
        target: /media
    restart: 'unless-stopped'
Explanation of Key Settings:
- user: 1000:1000 – Ensures Jellyfin runs with your user permissions (replace 1000 with your actual UID/GID if different).
- network_mode: host – Improves streaming performance by bypassing Docker’s NAT.
- Volumes:
- ./config:/config – Persists Jellyfin’s settings.
- ./cache:/cache – Helps speed up metadata loading.
- /media/backup/Movies:/media – Maps your Azure-backed media into the container.
Step 3: Launch Jellyfin
Run the following commands to start Jellyfin:
mkdir -p jellyfin/config jellyfin/cache
docker compose up -d
Jellyfin will initialize and create necessary files in the config directory.
Step 4: Access the Web Interface
Open your browser and navigate to:
http://your-server-ip:8096
Follow the setup wizard:
- Set up admin credentials
- Add media libraries pointing to /media
- Configure metadata preferences
- Complete setup
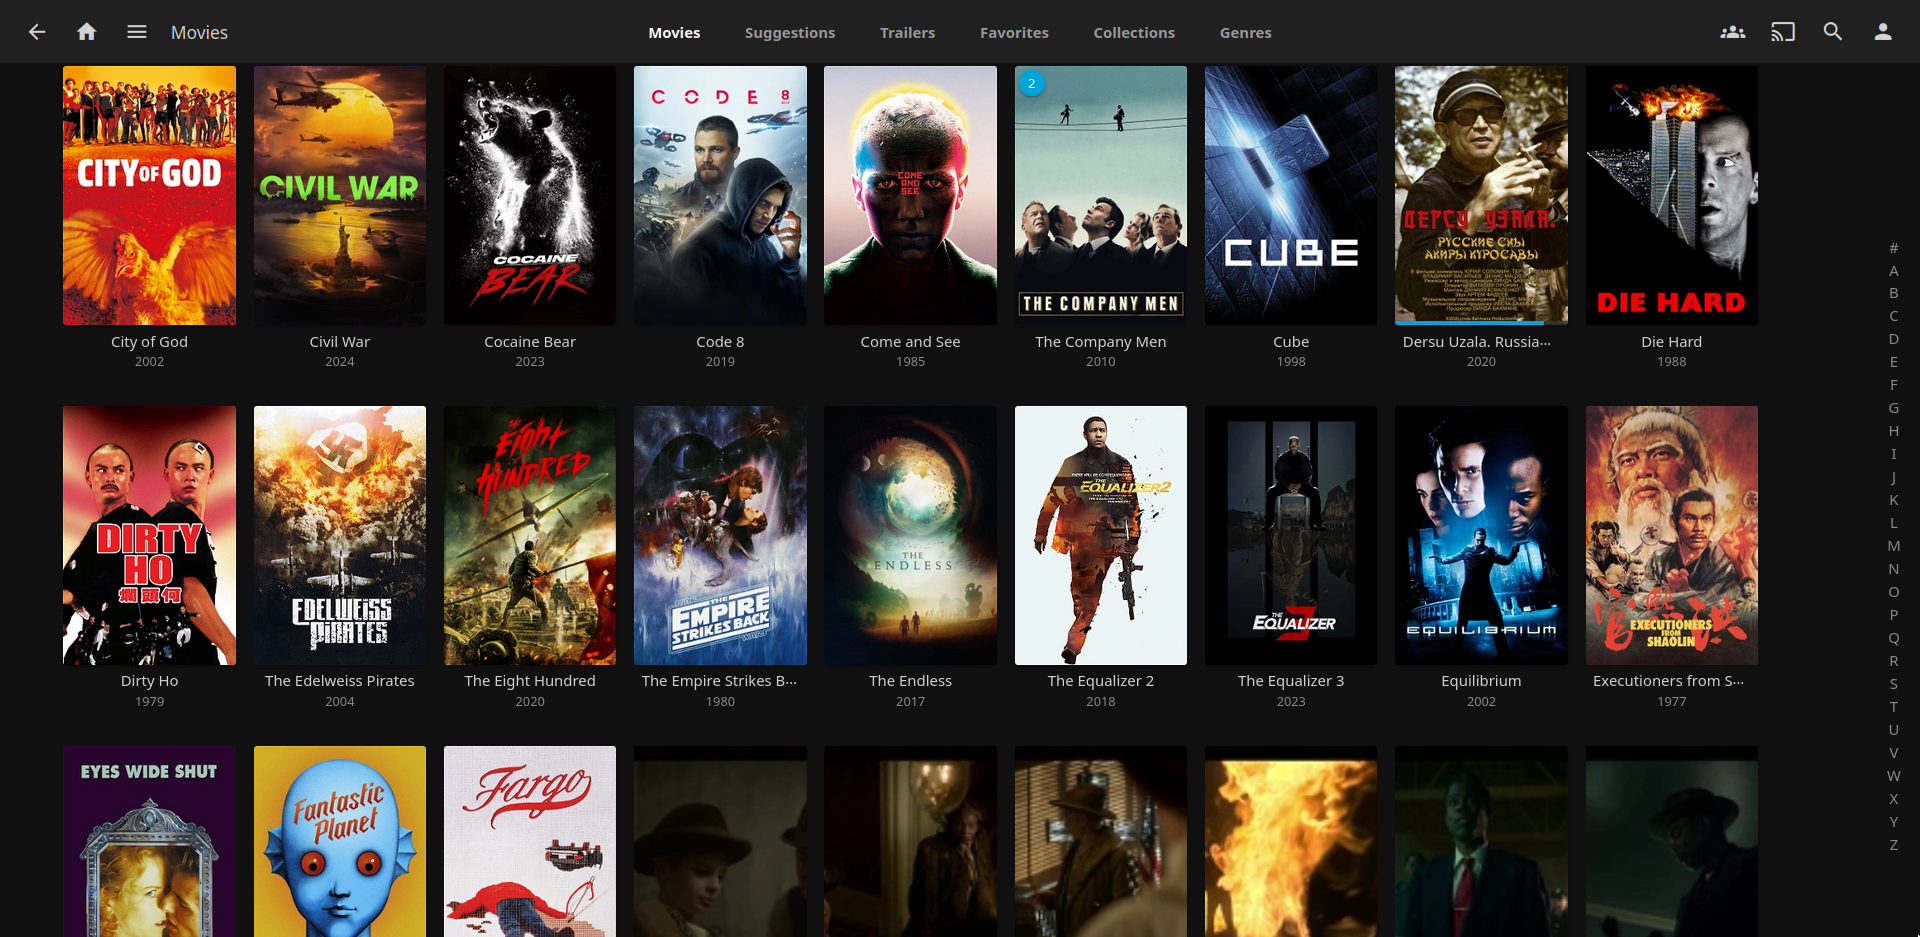
Step 5: Enjoy Your Media
Once scanning completes, your movies will appear in an organized library. You can now:
- Stream to any device
- Enable hardware transcoding if supported
- Set up user accounts for family/friends
Automating Media Sync with Azure Files
Since your media is stored in Azure Files, keep it updated using rsync as I described in my previous guide:
rsync -avzh --progress /local/movies/ /media/backup/Movies/Jellyfin will detect changes if “Real-time monitoring” is enabled in library settings.
Troubleshooting
- Permission issues: Verify user: matches your media directory owner
- Library not updating: Manually trigger a scan in Jellyfin’s dashboard
- Streaming performance: Ensure sufficient bandwidth, consider reverse proxy for remote access
Conclusion
By combining Azure Files for cloud storage and Jellyfin for media streaming, you’ve created a powerful, self-hosted entertainment system. Your media is both securely backed up and easily accessible from anywhere.
For advanced setups, consider:
- Hardware acceleration for transcoding
- Reverse proxy with SSL for secure remote access
- Automated media management tools like Sonarr/Radarr
Happy streaming!
Leave a Reply