AIoT is what you get when you combine AI with IoT, using it you can create very interesting applications, not just your average IoT device that collects telemetry data and uploads it to the cloud, but a device that can do smart things using cloud computing and AI services such as Azure AI.
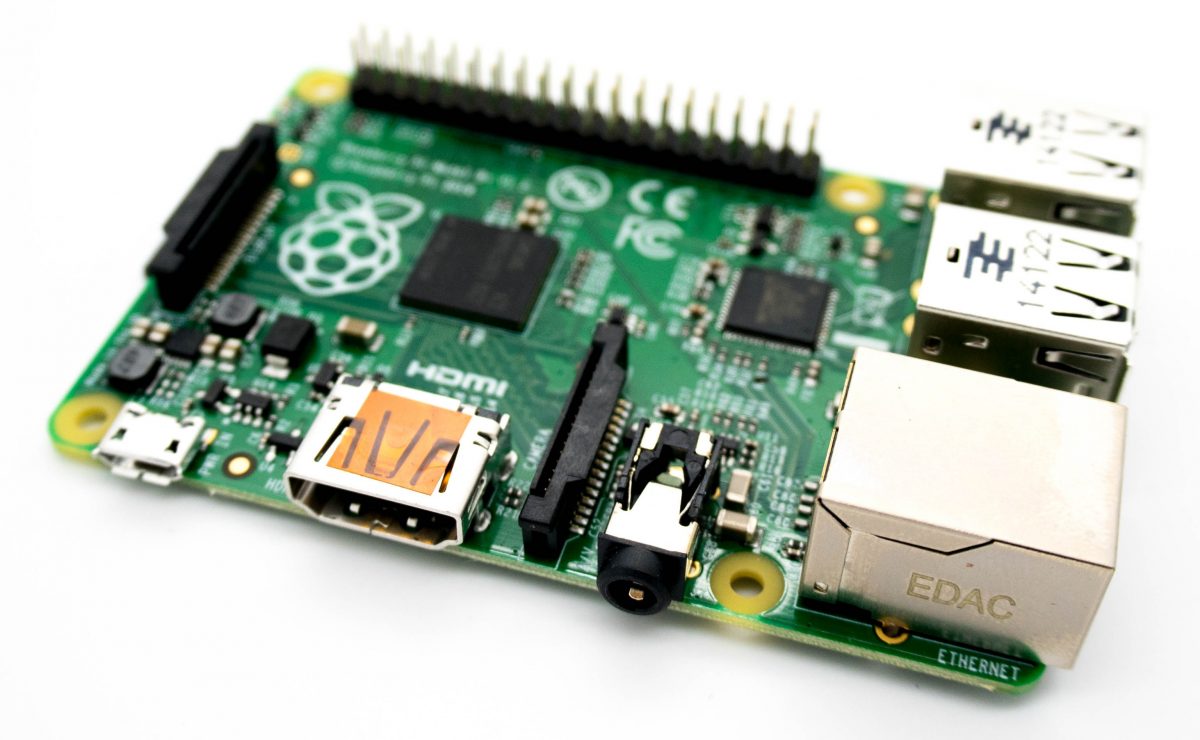
In this article I’m going to explain an example of AIoT using a Raspberry Pi, a Pi Camera and Azure Face API. Raspberry Pi, if you are not already familiar with, is a credit card sized computer which have a huge ecosystem around it of extensions and software. One of the very popular extensions is the Pi Camera, a tiny camera that you can attach it to a Pi board and by doing so we can have so many potentials.
This a howto article intended for the technical crowd who wishes to learn about AI and IoT applications, however if you are a non techie, you may enjoy some of my business minded articles on how to deal with these technologies. Also, if you are interested in the technology you might wish to follow me as I’m going to demonstrate in the future articles how to become a citizen developer and develop your IoT applications without code involved.
In this example I’m going to use a Raspberry PI, Azure Face API from their Cognitive Services and nodejs to write things up. You can actually achieve the same using any other programming language such as Python, C#, Go or even PHP if you like, since all of these languages are being support by the nifty Pi. I’m using nodejs for its merit that you won’t need to parse json messages in order to to interact with REST services, so it would be more convenient than say Python.
In order to follow through this article you will need first to setup your Raspberry Pi board with noobs, which will install Raspbian, a light weight Linux flavor which comes with lots of tools and support to most Raspberry Pi extensions such as the Pi Camera, which by the way you will need follow this article to configure it. If you are like myself, you might prefer to follow the headless installation option which doesn’t require an extra screen and keyboard.
During this howto we will be using Face API, so you might go ahead and create an Azure trial free account if you don’t have one. Then create a Face API resource by following these steps.
Search for cognitive services in the Azure portal search bar

Under cognitive services click add.

Search for Face API, click and create. Within few seconds it should be ready for use.

Click go to resource, browse for resource overview and grab the end point the grab the primary key under keys section to be used later in the nodejs script.
Or if you prefer the convenience of a command line like myself, you might fire up your Azure bash shell and type the below command.
az cognitiveservices account create -n myresource -g resourcegroup --kind Face --sku S0 -l WestEurope --yes
Then type this command to get a list with json discription of your cognitive services on Azure so you can grab the endpoint and keys from there
az cognitiveservices account list
Now after we got over the basics and you are now connected to your Raspberry Pi and excited to do cool stuff with it, let’s start up by installing the tools we will need. Go ahead and open your shell console (or SSH if you did follow the headless installation) and type the following commands to install nodejs, npm and the required npms to be used in this howto.
We start first by updating and upgrading the system packages as a good practice.
sudo apt update
sudo apt upgrade
Then install nodejs and its package manager npm
sudo apt install nodejs npm
You might want to verify your nodejs and npm installation by checking their versions
nodejs -v
npm -v
Now we install the nodejs npm packages we are going to use in this howto
npm install request
npm install pi-camera
Using your favorite text editor, which I can’t dare to even suggest here 🙂 However Raspbian does come with vi. Paste this snippet of nodejs, I also placed it on github for your convenience and name it detectface.js
'use strict';

const request = require('request');
const fs = require("fs");
const PiCamera = require('pi-camera');

const myCamera = new PiCamera({
    mode: 'photo',
    output: `${ __dirname }/photo.jpg`,
    width: 640,
    height: 480,
    nopreview: true,
  });


myCamera.snap()
  .then((result) => {
    // Your picture was captured

    // Replace <Subscription Key> with your valid subscription key.
    const subscriptionKey = '<Subscription Key> ';

    //put your endppoint url here
    const uriBase = 'https://endpoint.cognitiveservices.azure.com/face/v1.0/detect';


    const imageBuffer = fs.readFileSync('photo.jpg'); //I found this easier to debug

    // Request parameters.
    const params = {
        'returnFaceId': 'true',
        'returnFaceLandmarks': 'false',
        'returnFaceAttributes': 'age,gender,headPose,smile,facialHair,glasses,' +
            'emotion,hair,makeup,occlusion,accessories,blur,exposure,noise'
    };

    const options = {
        uri: uriBase,
        qs: params,
        body: imageBuffer,
        headers: {
            'Content-Type': 'application/octet-stream',
            'Ocp-Apim-Subscription-Key' : subscriptionKey
        }
    };

    request.post(options, (error, response, body) => {
    if (error) {
        console.log('Error: ', error);
        return;
    }
    let jsonResponse = JSON.stringify(JSON.parse(body), null, '  ');
    console.log('JSON Response\n');
    console.log(jsonResponse);
    });
  })
  .catch((error) => {
     // Handle your error
     console.log('Error: ', error)
  });
Replace the endpoint and subscription key placeholder with your Face API ones you got in Face API setup step and save.
If you did use the headless installation and using a shell, you may use sftp to copy files into your Pi over wifi. By typing the below command.
sftp pi@raspberrypi.local
Then inside the sftp client, use the put command to send your nodejs file to your nodejs file into your Pi.
Now you are ready, look at your Pi Camera and smile, type the below command and hit enter
node detectface.js
You should be seeing a json description of your face, something similar to this but not exactly the same 🙂 Feel free to tinker with the script, it’s self explanatory with comments.

Hope you did enjoy this howto article and now you have some idea about AI and IoT using Azure and Raspberry Pi. Feel free to comment below if you have any questions and if you are interested you may follow me for more interesting IoT howtos based on what we have done on this one.
Leave a Reply