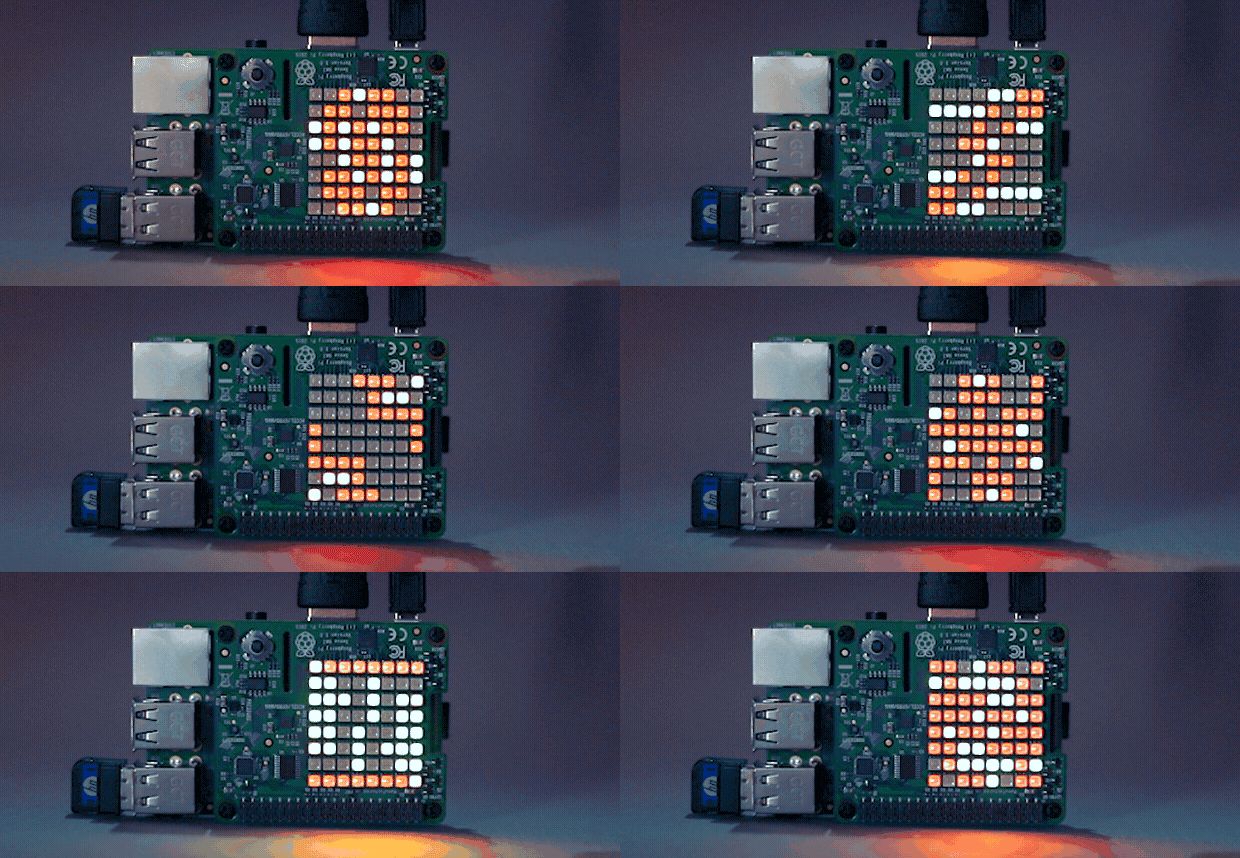
In my previous two articles I had shown how to run PowerFx on Raspberry Pi and even how to shell script it on Linux. But till then it was quite still limited to its existing functions that came with it, which although great, doesn’t do much when it comes to actually use Raspberry Pi and its accessories to do IoT stuff.
So I had this cool gadget called Sense Hat lying around and I wondered if it was possible to extend the functions of PowerFx to actually communicate with this Sense Hat and read telemetry data of it such as temperature, pressure, magnistim, etc.
There is no shortage of libraries to do exactly this, but none of those, as far as I’m aware, are low code! Which would be brilliant if I could pull this off. Because wouldn’t it be awesome to use low code, easy to understand, Excel formulas to do something as intricate as reading sensor data and controlling Iot hardware?
In order to build this I would need to extend PowerFx source code to have new functions to talk to SenseHat to read data or do stuff, like printing messages on its Led Matrix.
It so happens that there was no released documentation yet to detail how to do this, however I did learn from the great lads at Microsoft that there is actually a way to add helper functions to PowerFx to extend its features and that is actually how the Help() function does work in the REPL Console sample.
So after some code eyeballing to understand the implementation of it, I figured out how to add new functions to PowerFx, which once you understand it you got to appreciate its brilliance as it makes it possible to add new functions to PowerFx without having to rebuild and redeploy the Core Library.
In order to run the code in this article you will need .net core installed and configured on your Raspi. If not, check my previous article on this.
To add a helper function to PowerFx you will basically create a new class inheriting ReflectionFunction like shown below. I’m using SenseHatNet which I found to be very convenient to use.
 private class LedMatrixPrintFunction : ReflectionFunction
        {
            public LedMatrixPrintFunction() : base("LedMatrixPrint", FormulaType.Boolean, FormulaType.String) { }

            public BooleanValue Execute(StringValue message)
            {
                Sense.Led.LedMatrix.ShowMessage(message.Value);
                return FormulaValue.New(true);
            }
        }
On the 3rd line you will notice that you will need to define the return type and parameter type(s) for the new function. Then this new function will need to be registered to the PowerFx engine using the below line in order to be available via the REPL console.
engine.AddFunction(new LedMatrixPrintFunction());
I will spare you the copy and paste by simply cloning my forked sample repo with the modified REPL Console app which have the new PowerFx functions. Simply type the below command to clone it to your Raspi.
git clone https://github.com/fadyanwar/power-fx-host-samples.gitWhen done, and if you got .net core properly isntalled you will be able to run it like so.
dotnet run --project power-fx-host-samples/Samples/ConsoleREPL/When it runs, type the below in the PowerFx console. This is a new helper function that should print a message on the Led Matrix same like shown in this video.
LedMatrixPrint("Fady Says Hi!")If you can see the message then this means things are working fine so we can now move to more interesting stuff. So for example by typing the below you will be able to get the current temperature reading from your Sense HAT.
ReadTemp()And the below command will show you the current pressure.
ReadPressure()You can combine functions as below to print out the temperature for example on the LED Matrix.
LedMatrixPrint(ReadTemp())And if you don’t wish to see the very long decimal you can round it up using one of the PowerFx built in functions like below.
LedMatrixPrint(Round(ReadTemp(), 2))Now you can combine several commands like this to show date, time, temperature and pressure like so.
LedMatrixPrint(Text(Now()))
LedMatrixPrint(Round(ReadTemp(), 2))
LedMatrixPrint(Round(ReadPressure(), 2))
And if you have followed my previous article on PowerFx shell scripting you can save it to a script and run it in a loop using the watch shell command so you will get a cool geeky clock that shows date and time, and real time temperature and pressure as well. Now that is cool!
You can go ahead and use your favorite text editor, personally I prefer nano since it’s quite convenient. Then paste in the below PowerFx script as shown below. Feel free to be creative here.
nano weather.pfx#!bin/powerfx
LedMatrixPrint(Text(Now()))
LedMatrixPrint(Round(ReadTemp(), 2))
LedMatrixPrint(Round(ReadPressure(), 2))

Don’t forget to make the script executable after you save it. Then simply run using watch command so it would keep looping like shown below.
chmod +x weather.pfx
watch ./weather.pfx
If all goes well, you should see something that resembles this.

Hope you have learnt something new here, if so it would be great if you spread the knowledge around with your friends, also now since you have just secured this new knowledge under your belt, I would love to see what will you do with it, so don’t be shy to give me a shout online with your work. Thanks for reading my article and hopefully you enjoyed it! Cheers!

Leave a Reply